Overview
This guide walks you through how to complete the self-certification process on Tough Leaf.
Step 1: Log in to Your Account
Enter your login credentials to access your accounts.
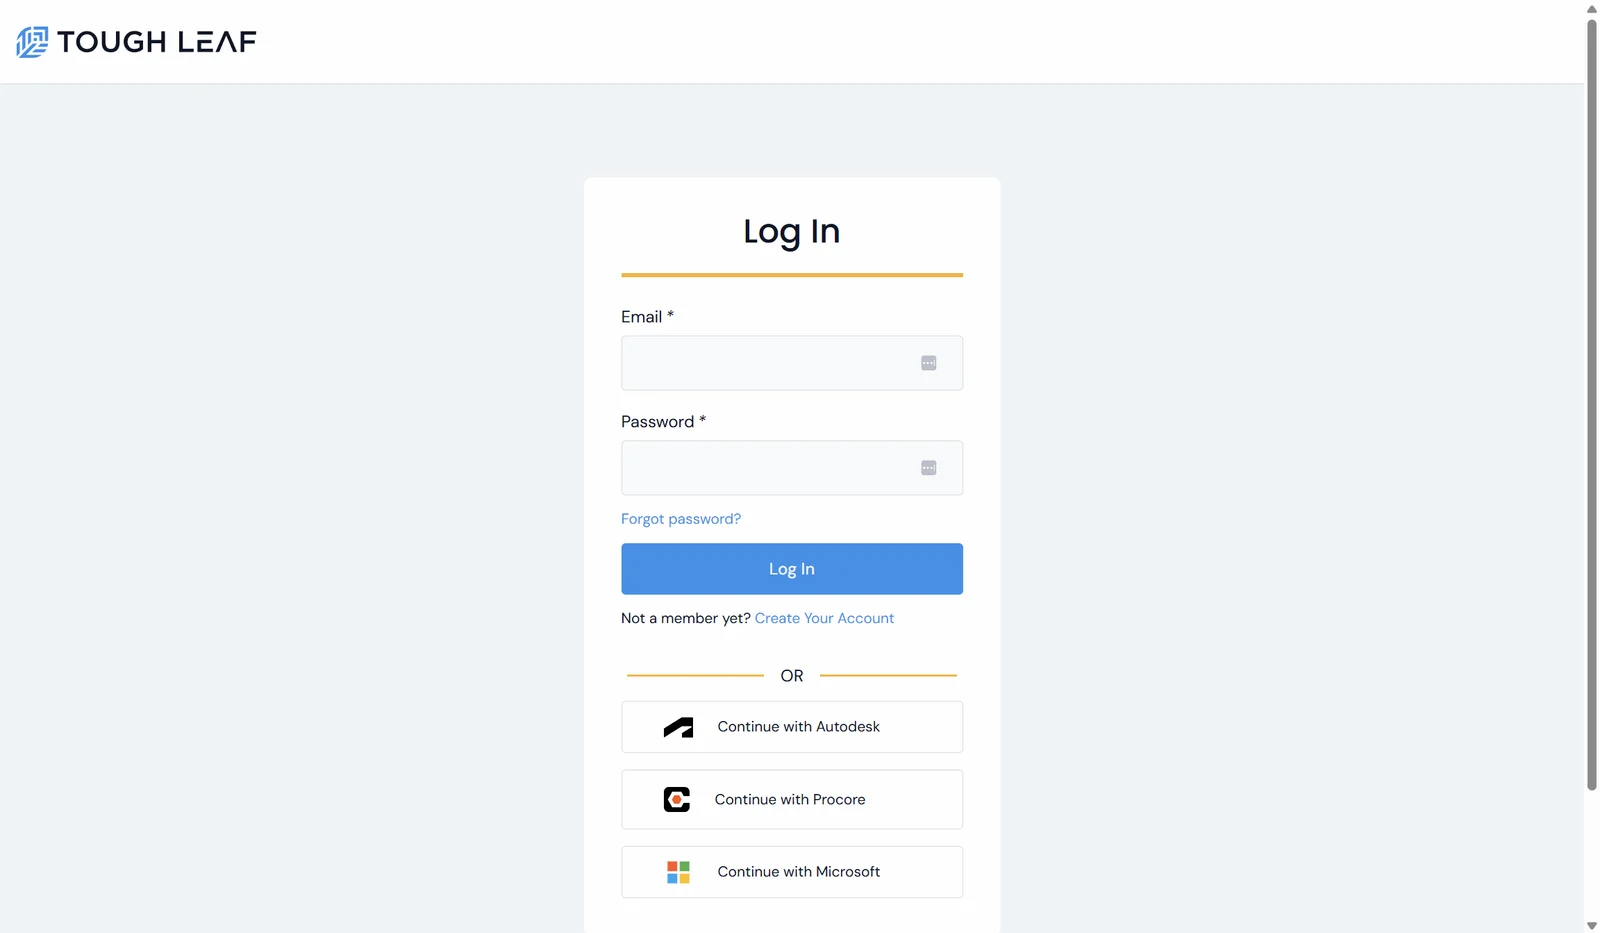
What to do:
- Enter your email address
- Enter your password
- Click Log In
Step 2: Access Your Dashboard
After logging in, you will be redirected to your dashboard.
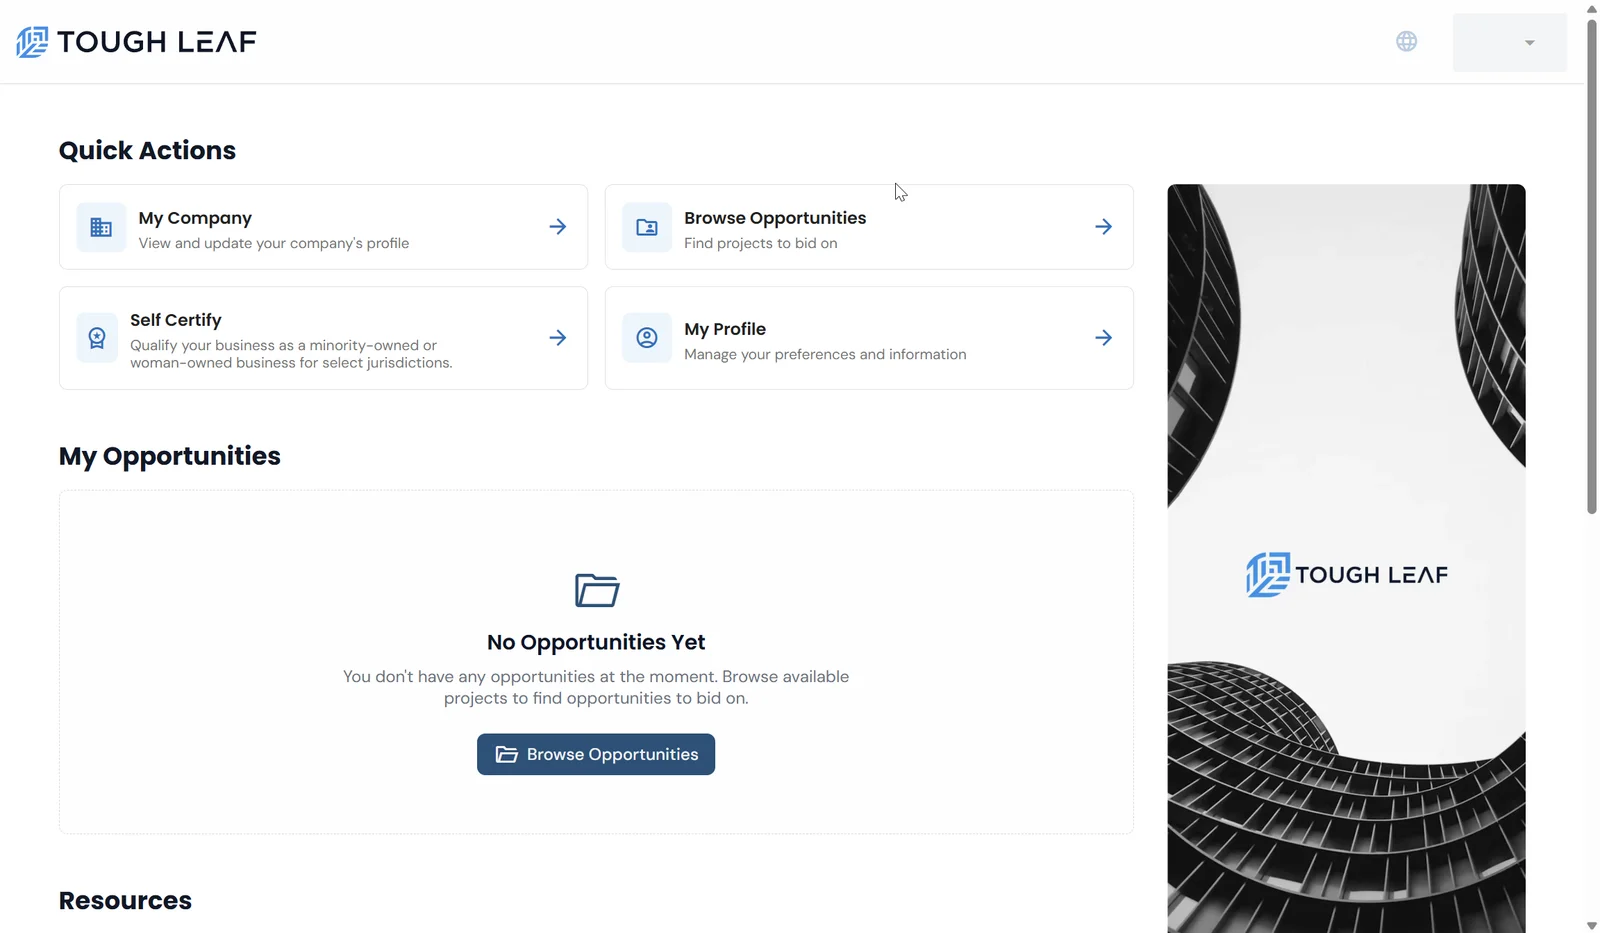
What to do:
- Wait for the page to load
- Locate the Quick Actions section
You should see:
- My Company
- Browse Opportunities
- Self Certify
- My Profile
If this is your first time, you may see “No Projects Yet.”
Step 3: View Your Company Profile
Access your company profile to review your business information.
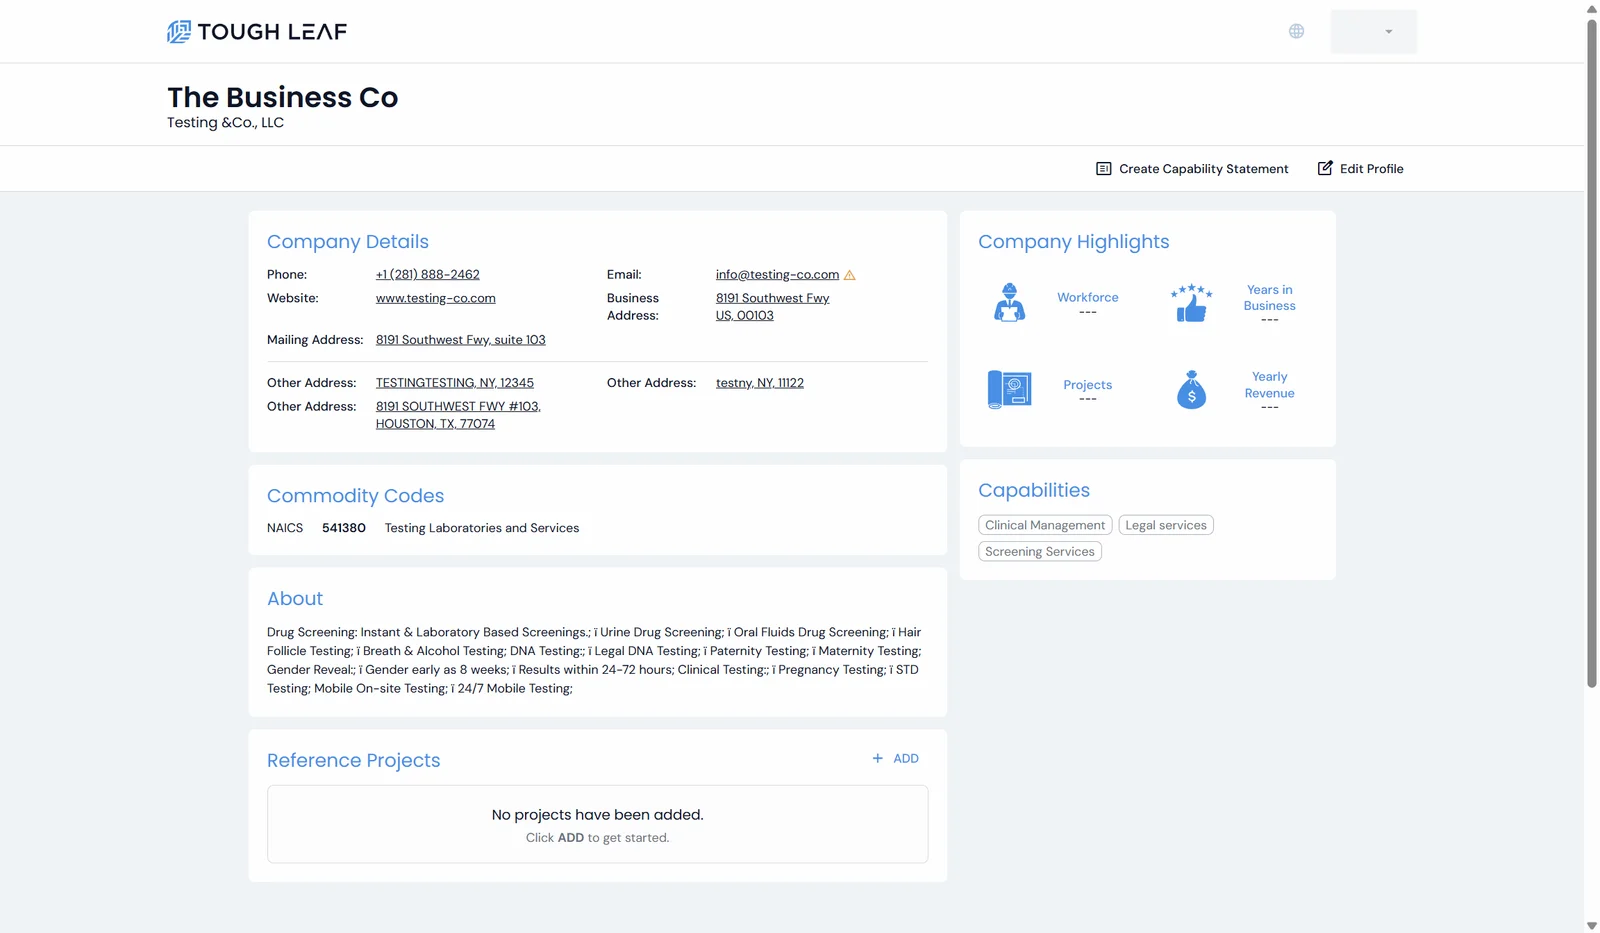
What to do:
- Click My Company from Quick Actions
- Review your company information
You can view:
- Company details (email, address, ethnicity)
- Reference projects
- Company highlights
- Capabilities
Step 4: Return to the Home Page
Click the Tough Leaf logo (top left) to return to your dashboard.
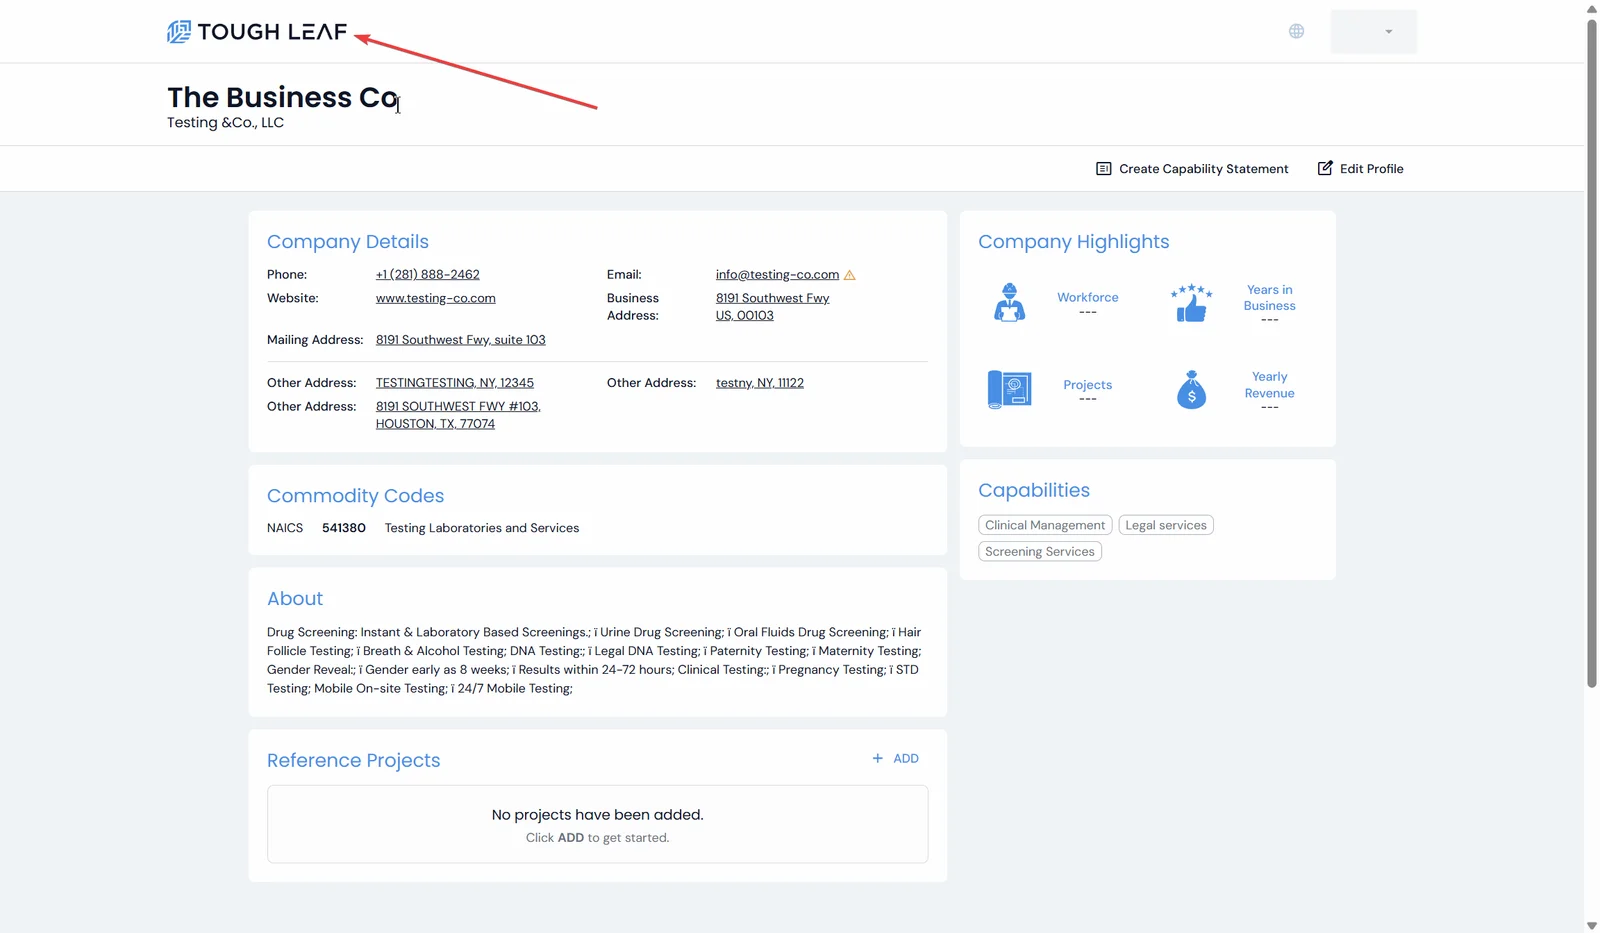
What to do:
- Click the Tough Leaf logo at the top left
Step 5: Manage Your Profile
Update your personal information and account settings.
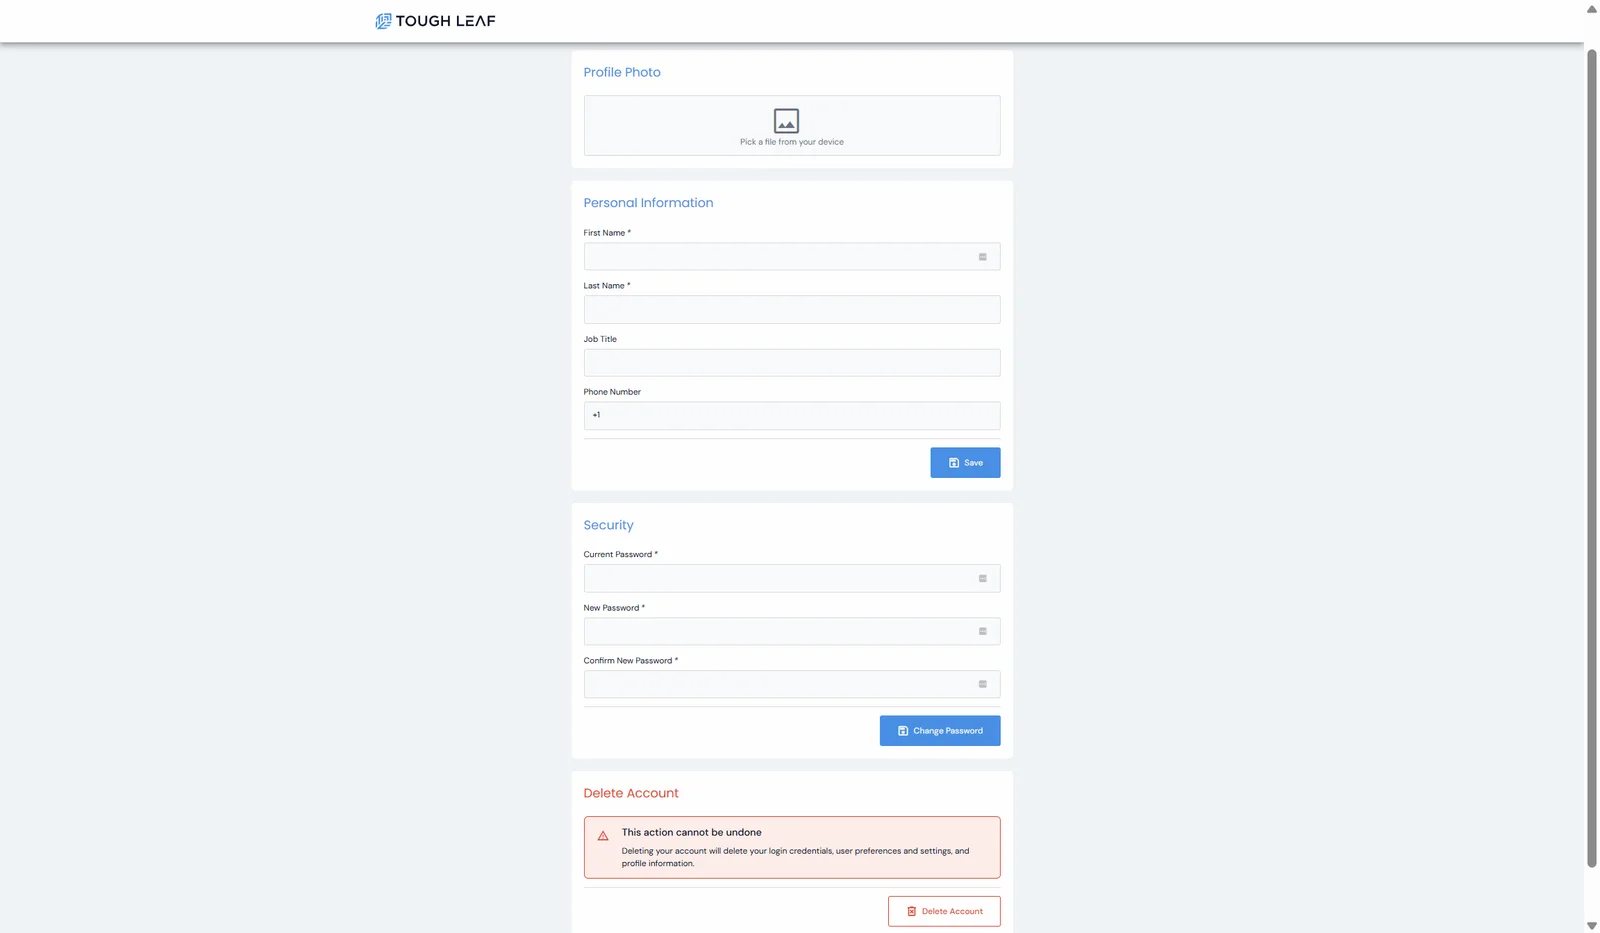
What to do:
- Click My Profile
- Update your information as needed
You can:
- Upload a profile photo
- Edit your name and job title
- Update your phone number
- Change your password
- Click Save to apply changes
Step 6: Start Self Certification
Begin the self-certification process.
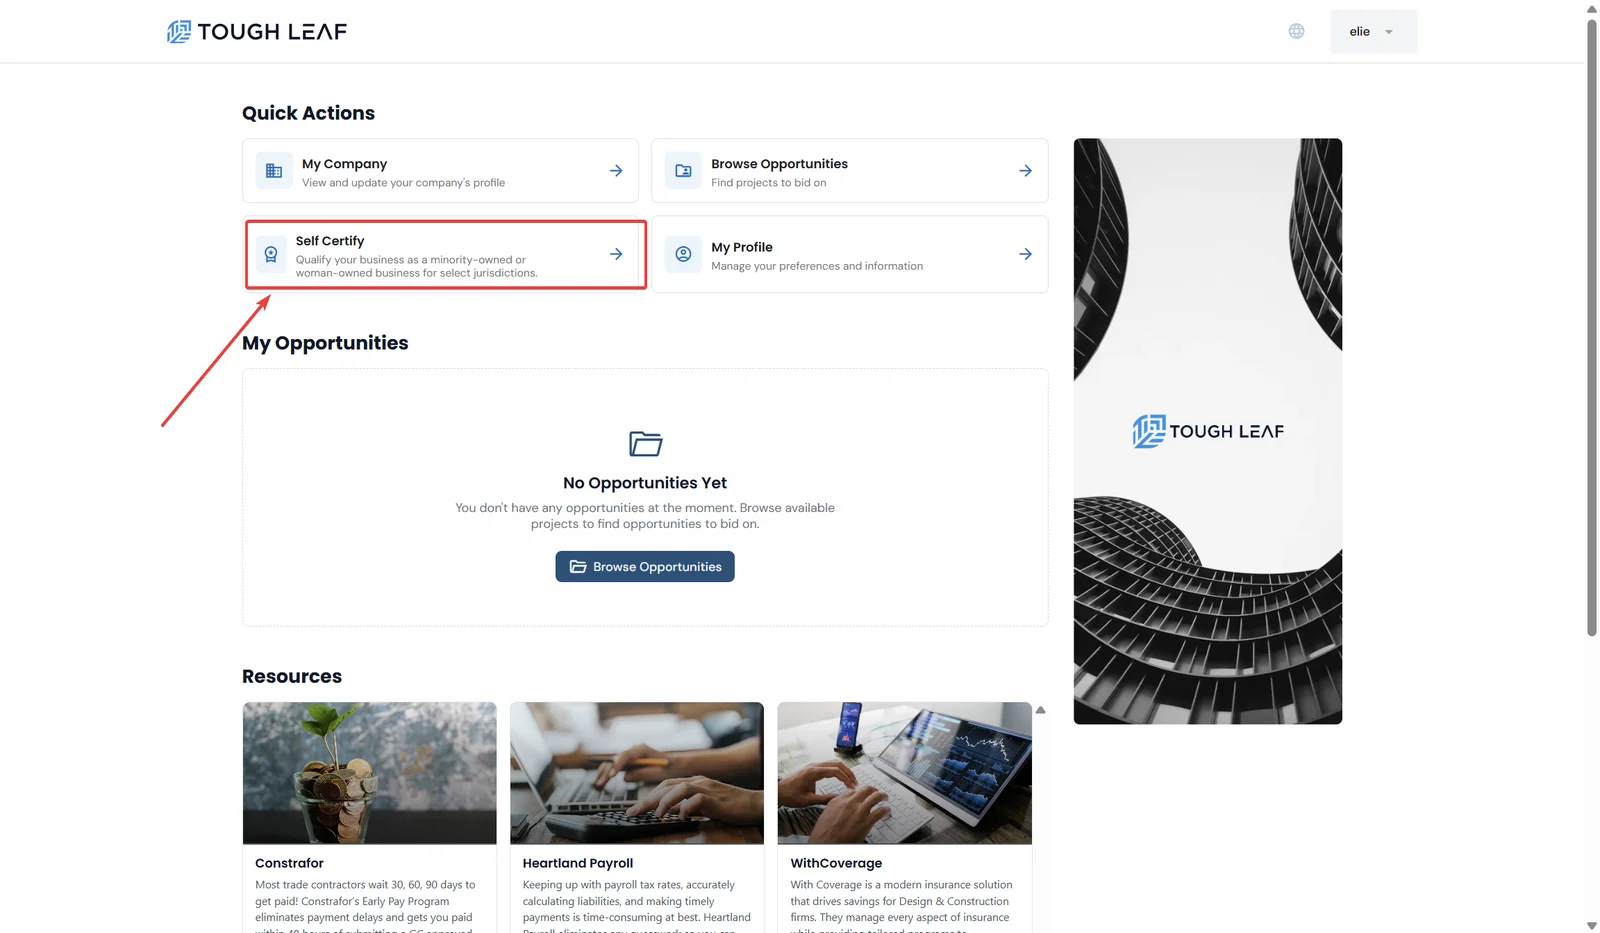
What to do:
- From the dashboard, locate Self Certify
- Click Self Certify to start
Step 7: Enter Company Information
Provide basic information about your business.
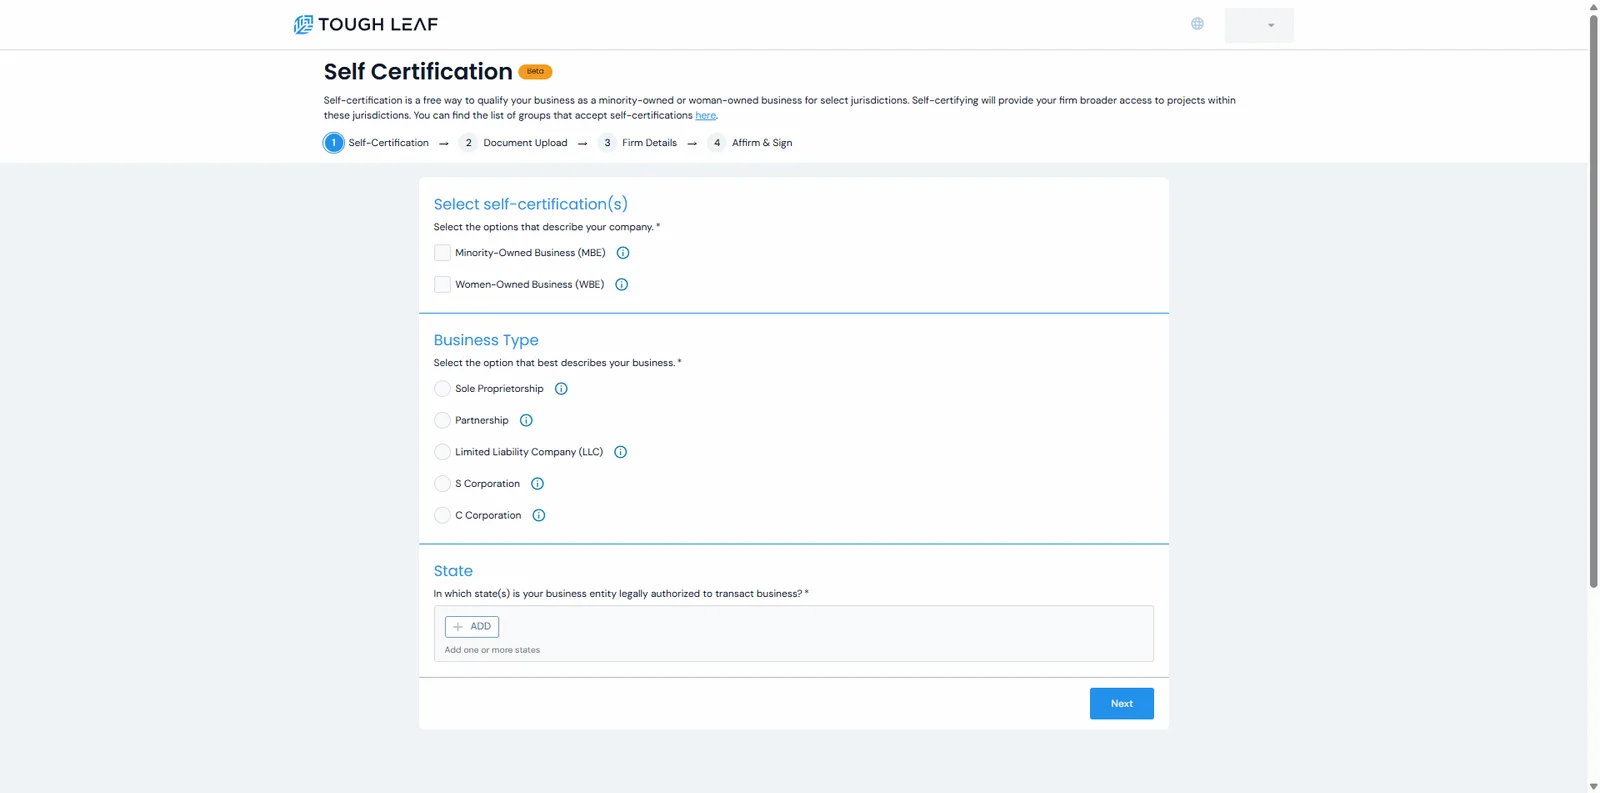
What to do:
- Select your self-certification type:
- Select your business type
- Add the state(s) where your business operates
- Click Next
Step 8: Upload Required Documents
Upload the documents needed to verify your business.
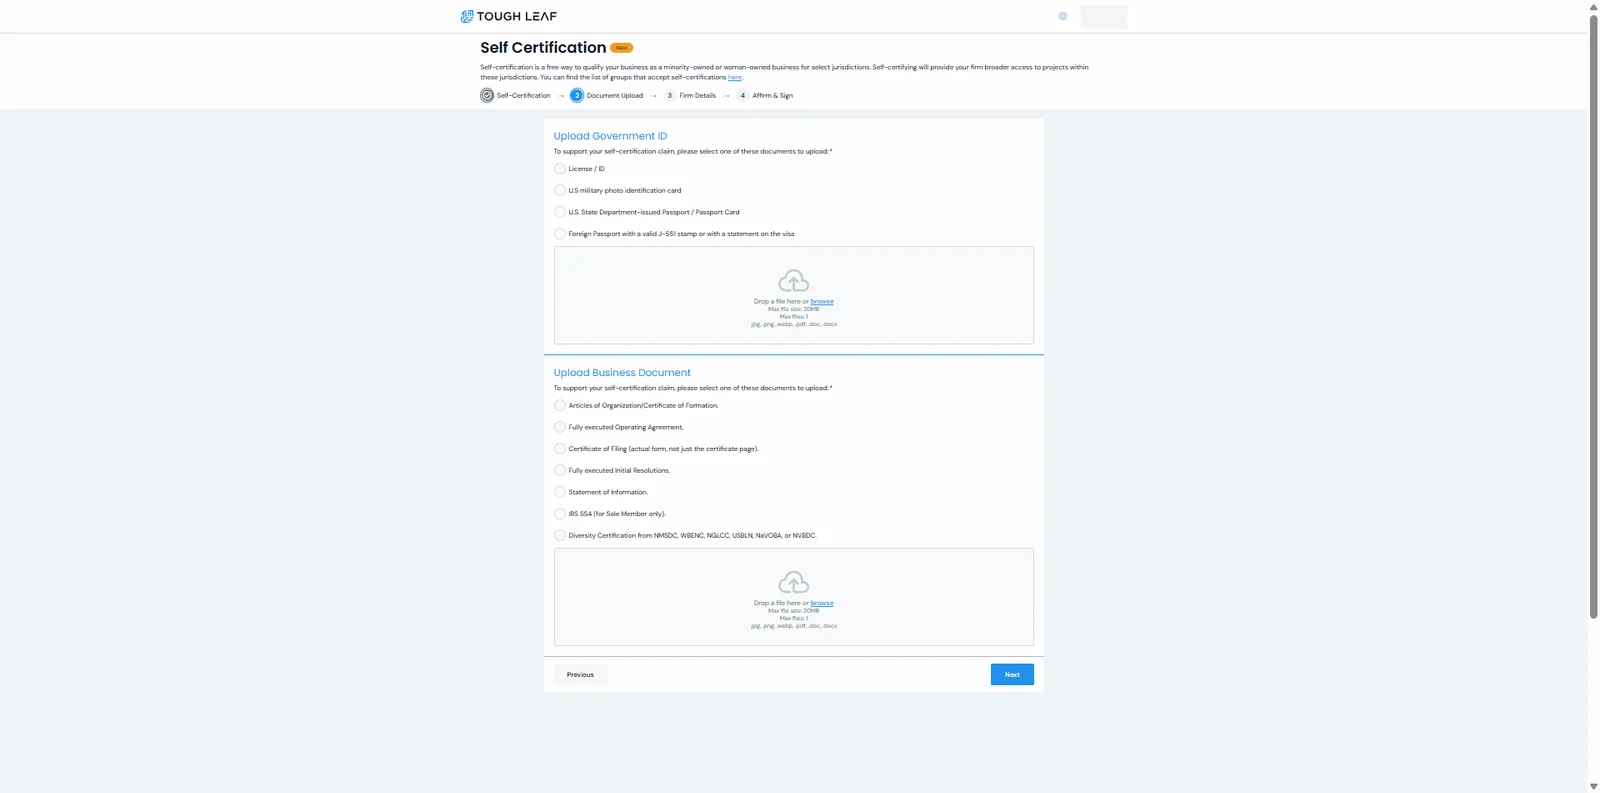
What to do:
1. Upload a Government ID
- Select a document type
- Upload the file
2. Upload a Business Document
- Select a document type
- Upload the file
- Click Next
Step 9: Complete Firm Details
Fill in detailed information about your company.
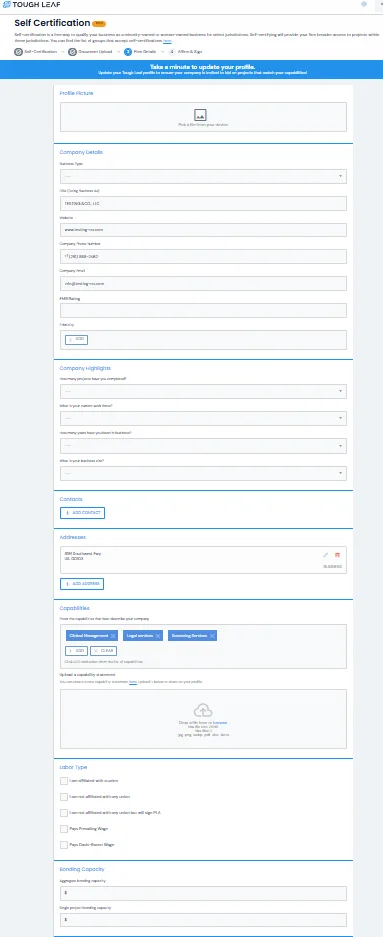
What to do:
- Complete Company Details
- Fill in Company Highlights
- Add Contacts (if applicable)
- Add or confirm Addresses
- Select Capabilities and upload your capability statement
- Select Labor Type options
- Enter Bonding Capacity
- Add a description in the About section
- Click Next
Step 10: Affirm and Submit
Review and confirm your information.
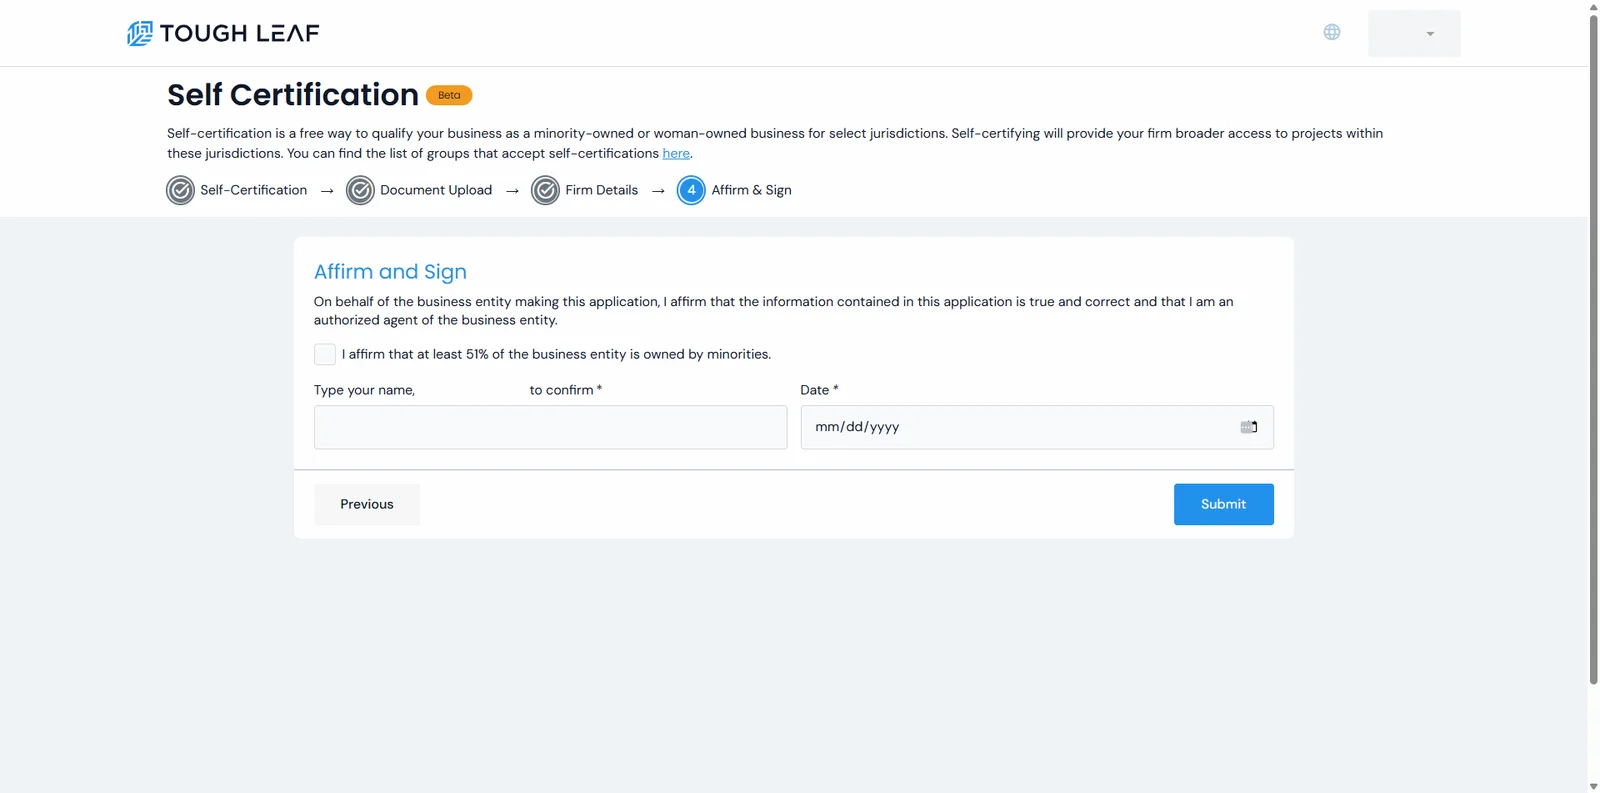
What to do:
- Check the affirmation box
- Type your name exactly as shown
- Enter the current date
- Click Submit
Step 11: Confirmation After Submission
After submitting your self-certification, you will see a confirmation message.
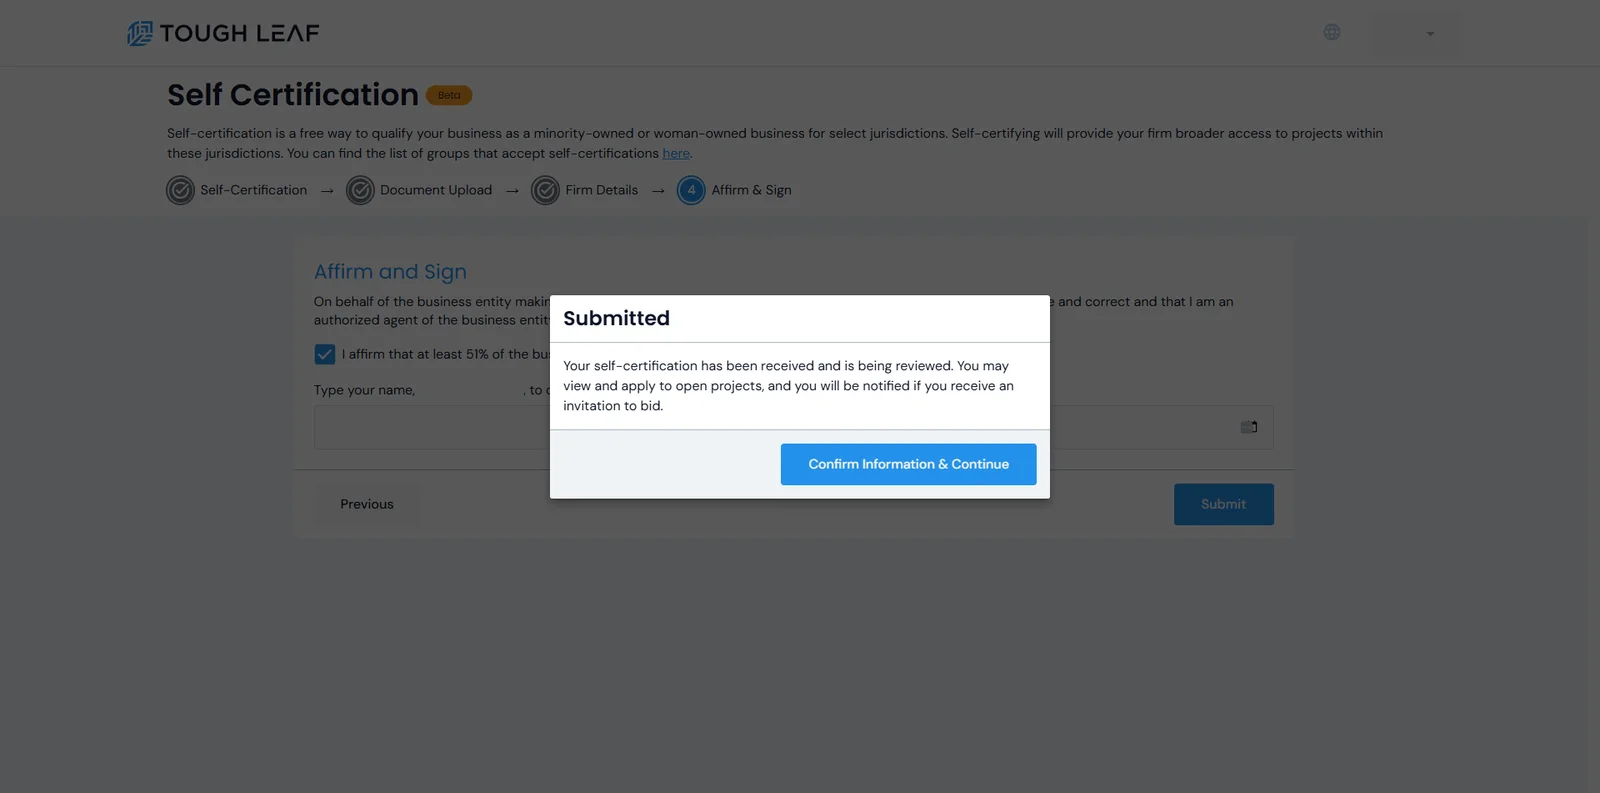
Click Confirm Information & Continue to proceed.